Article Number: 000157794
PowerScale CloudIQ: General Procedures to Onboard PowerScale to CloudIQ
Summary: General procedures to onboard PowerScale to CloudIQ.
Article Content
Instructions
CloudIQ Overview
CloudIQ is a cloud-based application that leverages machine learning to proactively monitor and measure the overall health of Dell IT infrastructure systems through intelligent, comprehensive, and predictive analytics.
Prerequisites
Before attempting to enable Secure Remote Services (SRS) or SupportAssist, verify that all prerequisites are satisfied:
- The user should be registered at support.dell.com.
- The site ID must be the same within Dell Technologies' install base for all the Isilon/PowerScale nodes and the cluster SWID (ELMISLxxxx #) instance. The site ID of the Secure Remote Service (SRS) Gateway or Secure Connect Gateway (SCG) is not required to be the same site ID as with the nodes and cluster SWID.
- Verify the following hardware requirements:
- The cluster is in the Installed state.
- The cluster is running OneFS 8.2 or later. Any cluster running versions of OneFS before 9.0 is referenced as "Isilon Cluster." Any cluster running OneFS 9.0 or later is referenced as "PowerScale Cluster."
- The cluster is healthy.
- Verify that required ports are open from the cluster through the firewall and to the Secure Connect Gateway.
- A paid (active) ProSupport or ProSupport Plus agreement and an accepted End User License Agreement (EULA) for each asset to be viewed within CloudIQ is required.
Section 1: Onboarding for OneFS v9.5.0 and later
Note: Starting with OneFS v9.5.0, it is recommended to use SupportAssist for remote connectivity. Secure Remote Services under the Remote Support tab is being deprecated, and support soon ends.
Section 1.a - Enable SupportAssist (WebUI)
Go to the Cluster management > General settings > Dell SupportAssist tab.
Click Connect SupportAssist.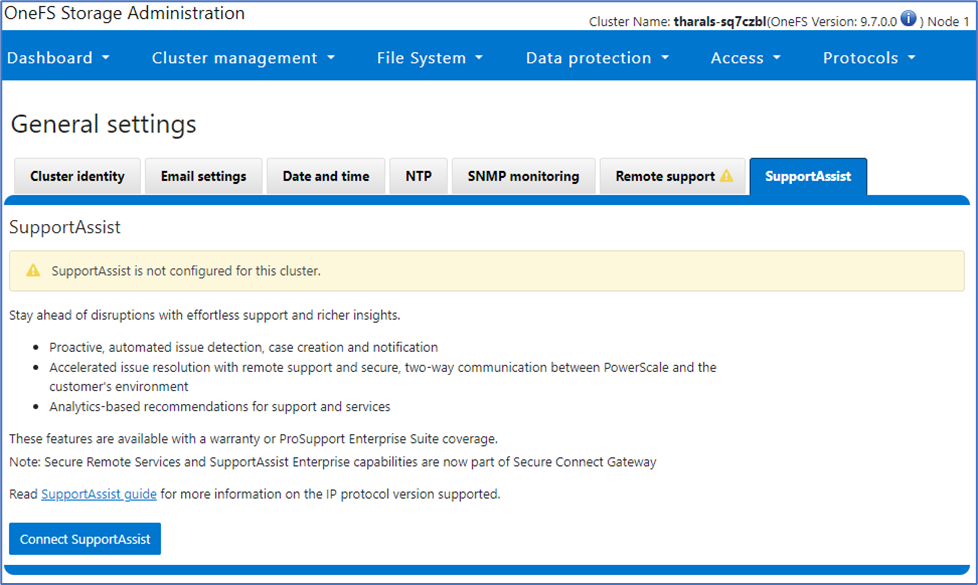
Scroll to the bottom and check the box, then click Accept.
Enter primary contact information and optionally a secondary contact then click Next.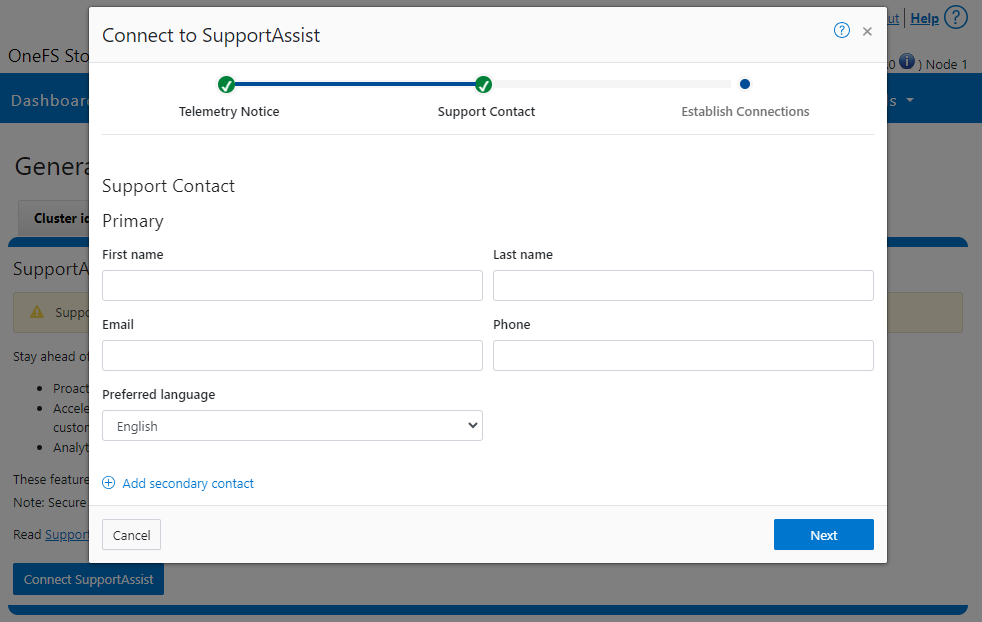
For direct connection, enter the Access Key and PIN then click Finish Setup.
For gateway connection, check the box for Connect using Secure Connect Gateway. Enter the gateway information, then enter the Access Key and PIN then click Finish Setup.
Access Key and PIN can be acquired from the Request Access Key and PIN link.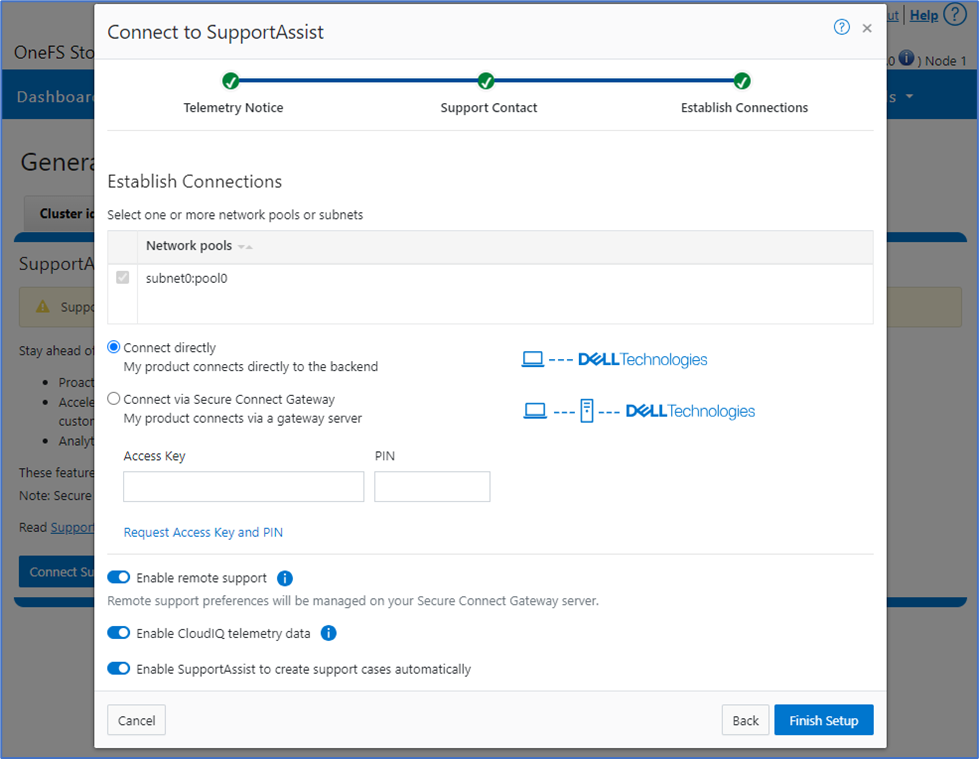
Connection is successful when SupportAssist shows Enabled and Connectivity shows Connected.
Verify that Enable remote support is selected.
Verify Enable CloudIQ telemetry data is selected.
Section 1b - Enable SupportAssist (CLI)
Configure SupportAssist
Secure Connect Gateway:
isi supportassist settings modify --connection-mode gateway --gateway-host your-gateway-hostname.com --gateway-port 9443 --network-pools="subnet0.pool0"
Direct Connect:
isi supportassist settings modify --connection-mode direct --network-pools="subnet0.pool0"
Set the primary contact information:
isi supportassist contacts modify --primary-email=firstname.lastname@company.com --primary-first-name=firstname --primary-last-name=lastname --primary-phone=123-456-7890

Secondary contact options:
--secondary-email
--secondary-first-name
--secondary-language
--secondary-last-name
--secondary-phone
Begin the provisioning using Access Key and PIN. Access Key and PIN can be acquired at https://www.dell.com/support/home/en-us/product-support/product/isilon-onefs/overview.
isi supportassist provision start --access-key A27575F7 --pin 1111
Accept the INFRASTRUCTURE TELEMETRY NOTICE.
View provisioning progress:
isi supportassist provision view
View SupportAssist settings:
isi supportassist settings view
Connection is successful when provision view shows success:
Provision Status:
   Current State: COMPLETED
       Sub-state: completed
Success or Fail: success
Percent Complete: 100%
           Error: -
And when settings show Service enabled: Yes and Connection State: enabled
        Service enabled: Yes
       Connection State: enabled
      OneFS Software ID: ELMISLxxxxxxxx
          Network Pools: subnet0.pool0
        Connection mode: direct
           Gateway host: -
           Gateway port: -
    Backup Gateway host: -
    Backup Gateway port: -
  Enable Remote Support: Yes
Automatic Case Creation: Yes
       Download enabled: Yes
Section 2: Onboarding for OneFS v9.4.0 or earlier
2.a - Deploying Secure Connect Gateway Virtual Edition (VE).
It is required for the user to have at least one Secure Connect Gateway server that is installed and configured with connectivity to Dell Technologies. If an existing Secure Connect Gateway is up and running, go to Section 2b below.
Note:
- CloudIQ is not compatible with "PowerScale Clusters" running on SRSv2.
- If the existing Secure Connect Gateway is at a different Site ID from the "PowerScale Clusters," then the Secure Connect gateway must be configured to manage the Site ID where the cluster is installed. This may be in addition to any other Site IDs managed by that gateway.
You must enable and configure SRS in the OneFS WebUI or using the isi esrs command.
To configure systems to send data to CloudIQ in the OneFS WebUI:
- Go to Cluster management > General Settings > Remote support and click Enable SRS.
- Input your SRS VE gateway address, select a network pool and then select the Save configuration and enable button.
 To configure systems to send data to CloudIQ using the isi esrs command:
isi esrs modify --enabled=true --primary-esrs-gateway=<gateway-server> --gateway-access-pool=subnetx:poolx --username=<username> [--password=<password>]
Where:
- gateway-server is the IP address or name of the primary gateway.
- Subnetx and poolx identify the network and pool for storing the collected data. Verify values with the site's storage administrator.
- Username and password are the credentials for accessing the primary gateway. The password argument is optional on the command line. If not provided, the system prompts you for the password and does not display the response as you type it. Omitting the password from the command line is preferable usually for security reasons.
For example:
isi esrs modify --enabled=true --primary-esrs-gateway=1.2.3.4 --gateway-access-pools=subnet2:pool3 --username=first.lastname@somecompany.com
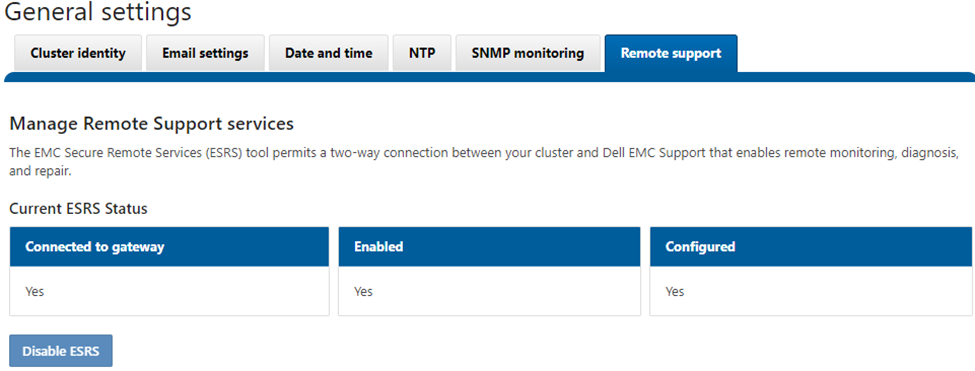
Section 2.c - Verify SRS connectivity on the cluster.
From OneFS WebUI:
- Go to the Cluster management > General Settings > Remote support tab:
From isi esrs command:
#uname -r
v8.2.0.0

#isi license list
OneFS License ID: ELMISLxxxxxxxx   <<This is the registration Software ID that is on the gateway.
Valid Signature: Yes

# isi esrs view
 Enabled: Yes
 Primary SRS Gateway: 1.2.3.4
 Secondary SRS Gateway: -
 Alert on Disconnect: Yes
 Gateway Access Pools: subnet0.pool0
 Gateway Connectivity Check Period: 3600
 License Usage Intelligence Reporting Period: 86400
 Gateway Connectivity Status: Connected
Section 3: Onboarding PowerScale cluster into CloudIQ
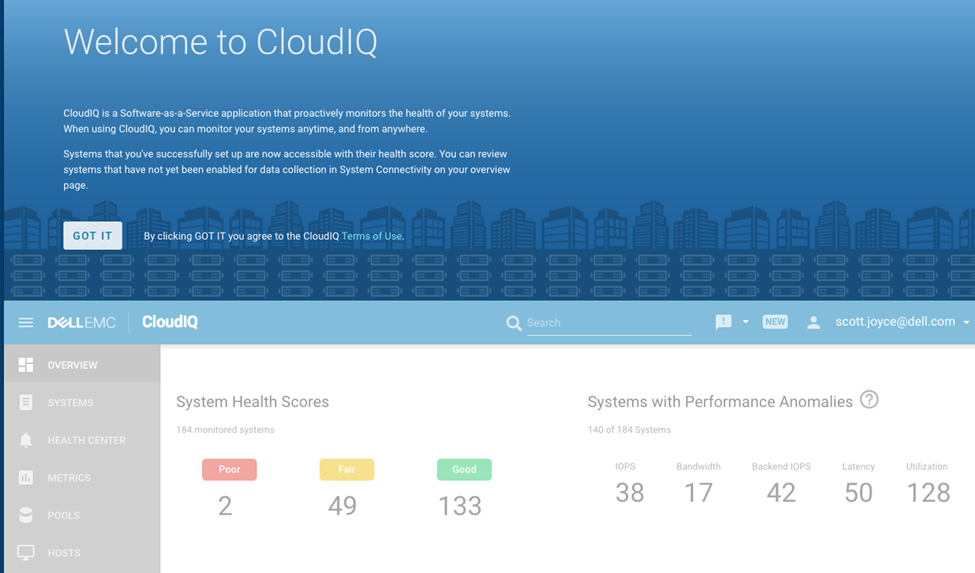
- Access CloudIQ at https://cloudiq.dell.com with username (email) and password credentials.

- The first time a new CloudIQ user logs in to CloudIQ, a series of introductory welcome screens display.

- The next page presents the user with the following screen - Click to continue.
- It goes to the install base and retrieves information about the user and their associated systems and brings them into CloudIQ.
- Once the command completes, it shows a success screen.
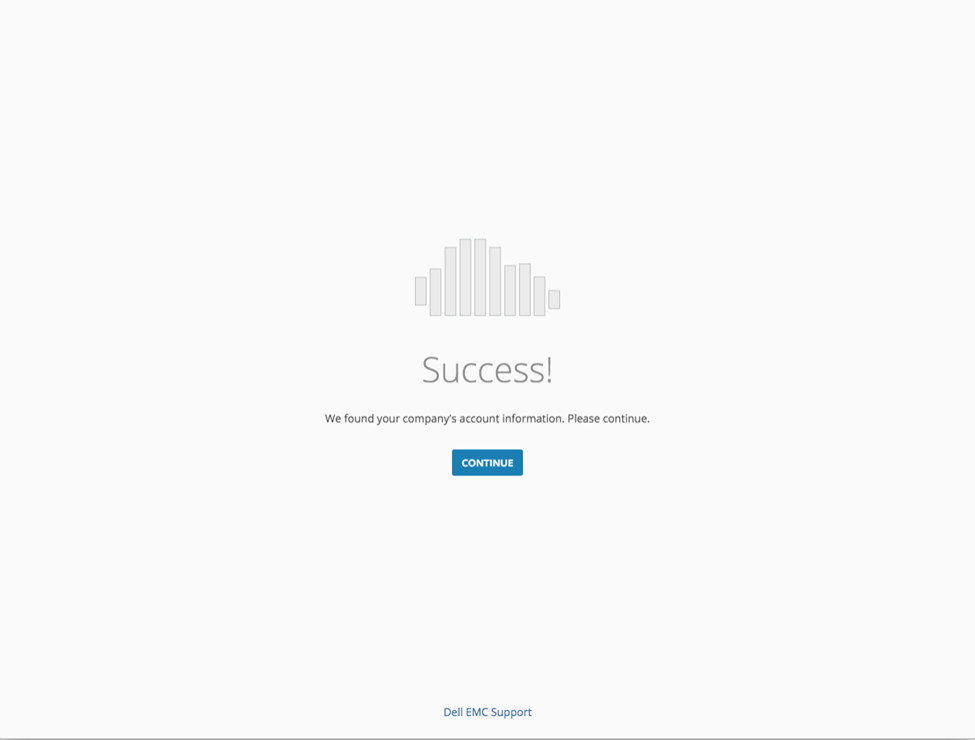
- Click Continue and the user is redirected to the Connectivity page which shows the CloudIQ compatible systems that are found during the retrieval of account information (if any).

If the systems are not connected, then the user can click the Enable CloudIQ link under the Instructions column to get the setup instruction.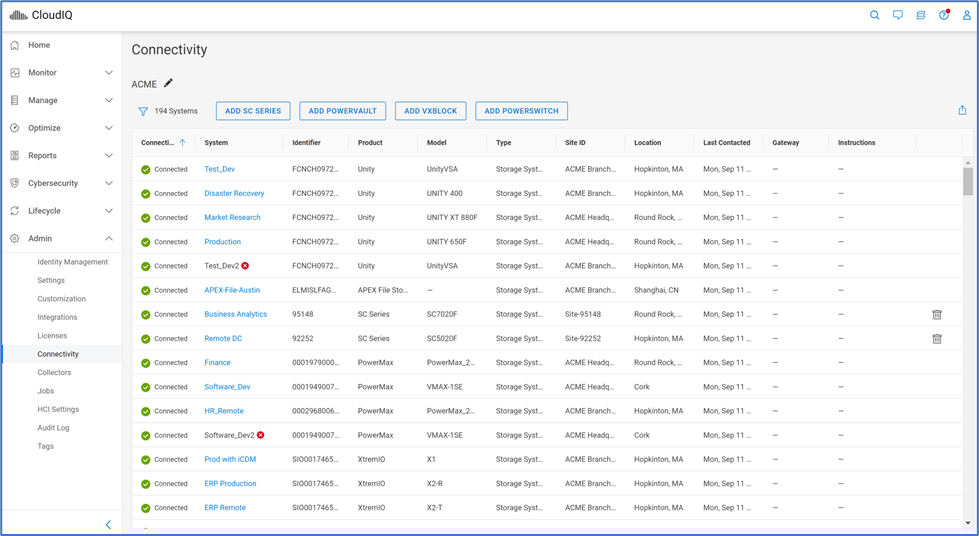
- Once the system is configured, the user is presented with the following screen:
Article Properties
Affected Product
Isilon
Product
CloudIQ, Isilon
Last Published Date
28 Sep 2023
Version
10
Article Type
How To